How to create a IT user for SSO setup
Summary
This step-by-step guide will show you how to create a user that can be used by your IT department to address the more technical aspects of the Siteimprove platform. This user type will only have access to the settings and integrations area within the platform. Remember to do this before enabling SSO if you are setting up an IT user for the purpose of configuring SSO.
Prerequisites
Please note that only Account Owners (or those with Custom profiles) can see the Add role button.
Create an IT user role
- Navigate to Settings > Users > Roles.
- On the roles page, click Add Role.
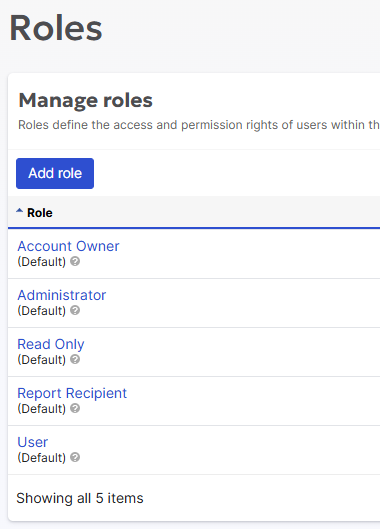
- Name the role IT user.
- The base role should be set to Administrator.
- Set Users to View everything and Actions all.
- Set Settings to View everything and Actions all.
- Set Integrations to View everything and Actions all.
- Make sure that all the other options are turned off.

- Click Add Role.
Create an IT User
- Navigate to Settings > Users > Manage Users.
- On the Manage Users page, click Add user.
- Fill in the information for your IT user.
- Click Next.
- Select the user you've created.
- Click Edit Role, select the IT user role you've created previously, and click Save.
- Select Send welcome email.
- Click Finish.
Expected result
The new user will receive a welcome email with a link to configure their password.
Additional notes
Note: We recommend retaining your IT user as a "Local account" (not SSO) in case you need to update your SSO certificate information at a later stage. See the SSO v2 FAQ for more details on changing user type.
If you have any questions, do not hesitate to contact Technical Support.
Did you find it helpful? Yes No
Send feedback